
Time for the Details
The bulk of the cabinets are made. Now we work on the details, starting with the drawer face panels.
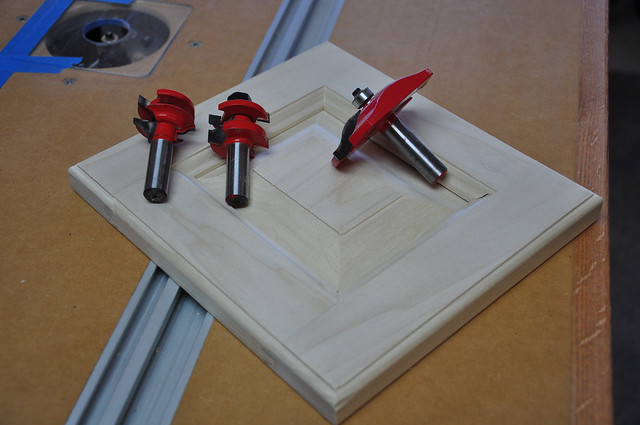
A friend, Andrew, let me borrow a set of door making bits for my router. These are heavy duty, 1/2" shank bits, designed to shape a lot of wood. I was a little intimidated by them at first, but after a few test runs and a couple of real panels I'm comfortable with the process. Any woodworker with a good router table and a little patience can make some great doors.

The frame and panel is easy to cut. Edge glue and clamp some boards for the panel. Trim two rails (top and bottom) and two stiles (left and right) to size (standard 2") and you are ready to go.
The trick is knowing what size to cut the pieces so when they are put together, the door covers the opening at the size you expect. The math is easy once you see it work a couple of times.

I finished the top two drawers with a solid oak board with a beading trim around the edge. The larger door is an oak panel.

Next I'll be finishing the doors. This will be fun with installing hinges and adjusting for how the doors meet up.
Next Post: Cabinet Doors
No comments:
Post a Comment