
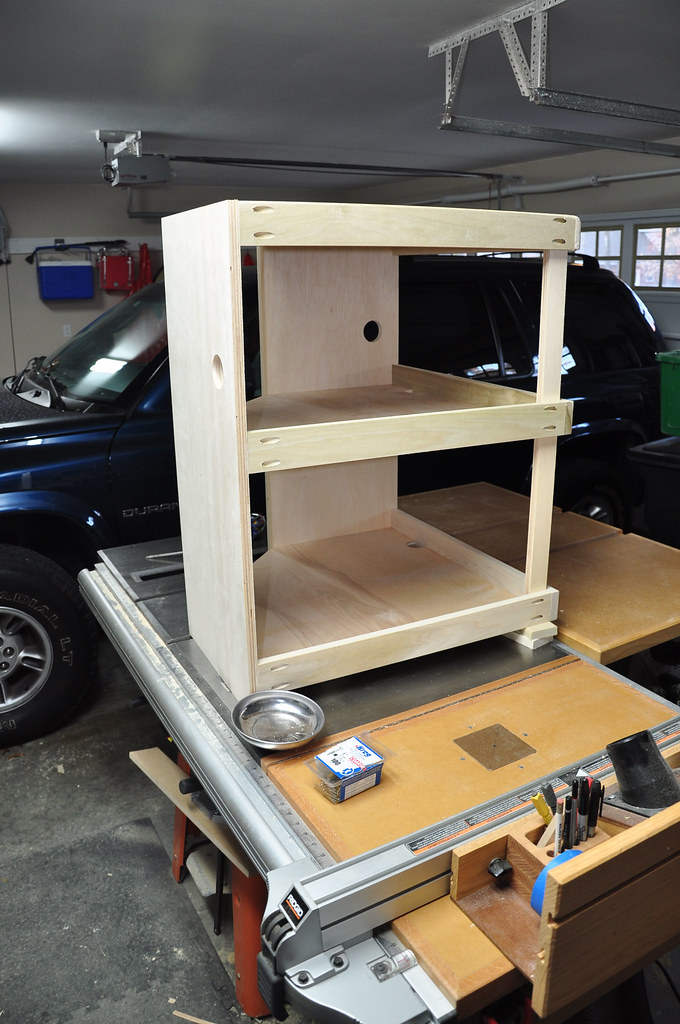
Time to Build
I've never built a cabinet before. The most I've made to this point are some small shelves and cubby holes for a closet. Before I started cutting, however, I felt confident I would be successful, mostly because of my work in SketchUp doing the designs. I already built the entire project digitally. I knew what size every board and panel should be and where they should go.
Materials
I wanted to use materials easy to find (and replace if I screw up) in my area, so I decided on a motley mixture of Birch plywood (3/4" and 1/2") for cabinet carcass, 3/4" poplar for face frame and trim, and 3/4" red oak for doors and drawer fronts. Since I planned on the two-tone look, I could get away with mixing the wood types.
Expected Issues
The only issues I had to overcome were the reality issues all carpenters must master, such as: walls not being level, rooms not being square, not all 3/4" boards being 3/4", seasonal wood sizing, etc. In my little experience, I knew I had to work around these problems rather than trying to solve them. The best way to do this was to build in stages, starting with the immutable parts first, and adapt where I could.
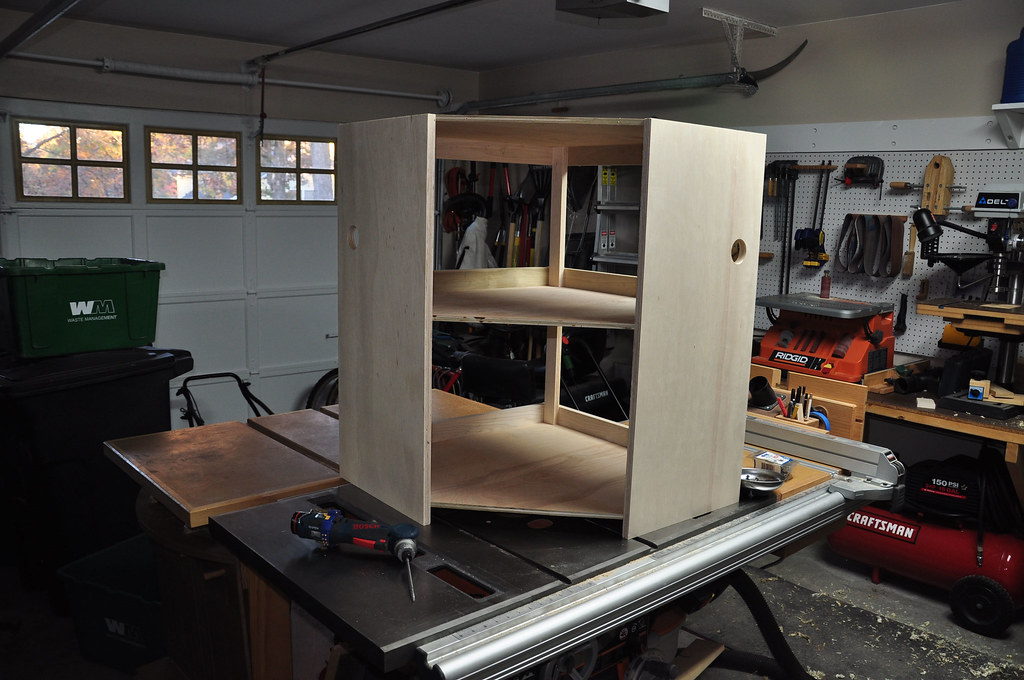
I started with the top corner cabinet for this reason. It was big and bulky and it's shape couldn't be adapted easily, whereas the shelves could easily be adjusted to fit the remaining space.
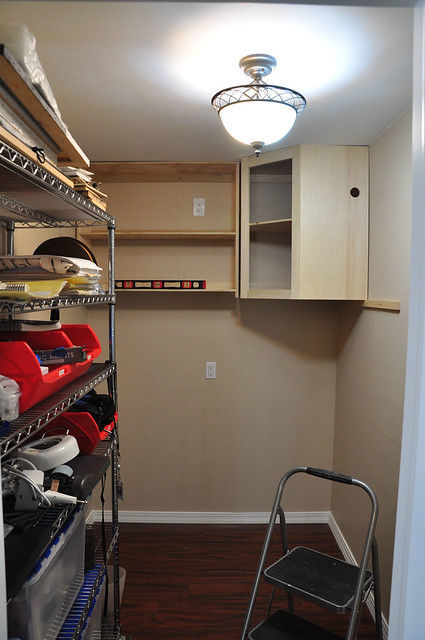
And now it is time to install. Corner cabinet up first, then I checked the measurements for the shelves and adjusted accordingly.
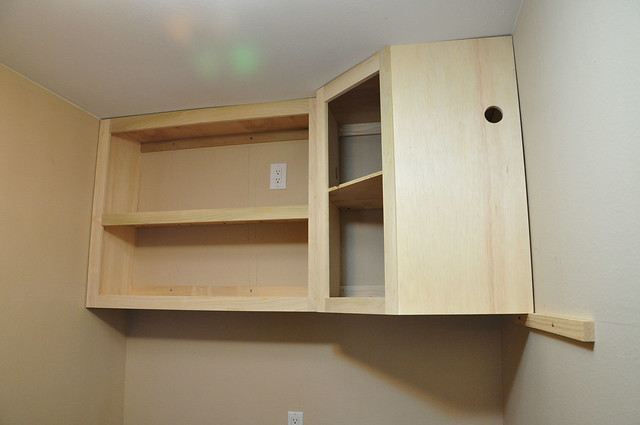
We're off to a good start! Everything is level and secure. The face frame is on. Time to move to the big, side cabinet next.
Next Post: Side Cabinets
No comments:
Post a Comment